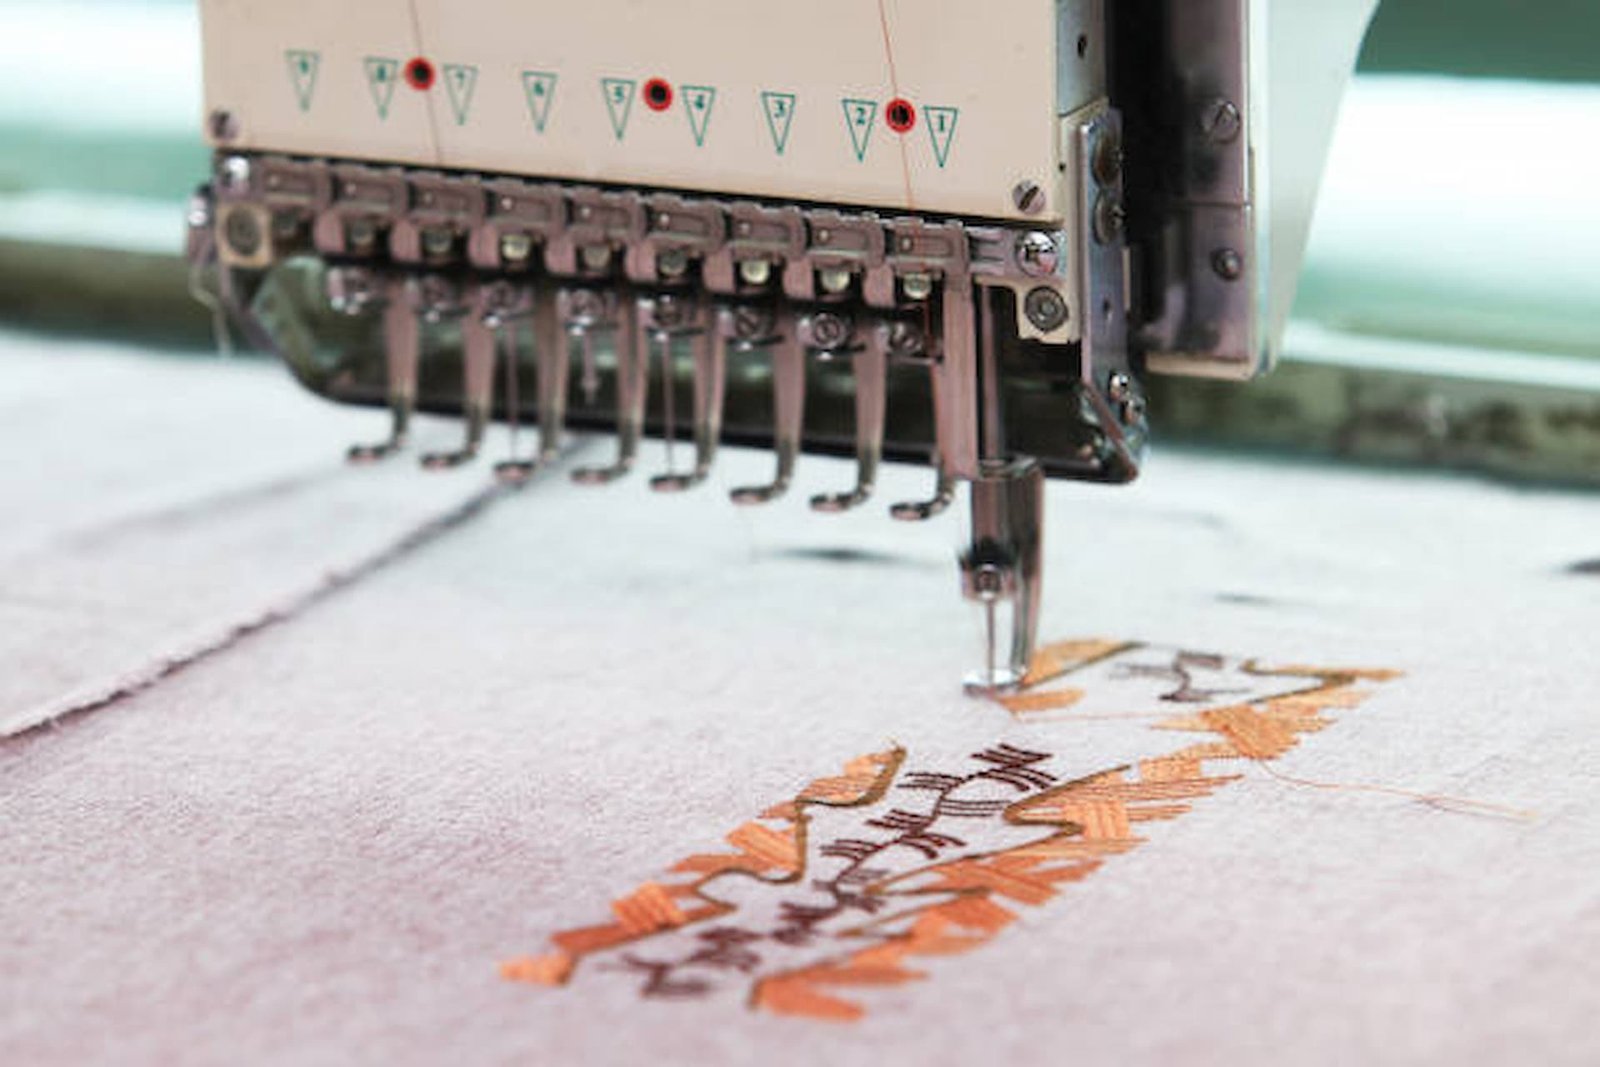
Imagine your logo beautifully stitched onto jackets, hats, or bags, ready to represent your brand in a uniquely tactile way. Transforming your logo into embroidery is more than just uploading an image—it’s a process that requires precise embroidery digitizing. In this guide, we’ll break down embroidery digitizing, how it works, and the tools you’ll need to make your logo ready for machine embroidery.
Introduction
Turning a logo into a high-quality embroidered design involves a few essential steps, starting with digitizing. Digitizing is the process of converting your logo into a digital format that embroidery machines can understand, stitching your design accurately with the right textures, shapes, and colours. But this isn’t just about translating an image; digitizing requires attention to detail and a good understanding of stitching techniques.
If you’re new to the concept, embroidery digitizing for logos may seem daunting, but with the right embroidery digitizing software and an understanding of the basics, you can achieve great results. Whether you’re doing it yourself or using a free digitizing service like Megri Digitizing, knowing the process will give you insight into what makes a well-crafted embroidered logo.
What is Embroidery Digitizing?
Embroidery digitizing is the process of transforming a digital logo or image into a format that an embroidery machine can use to stitch the design onto fabric. It involves mapping out each part of the logo, considering the stitches, and creating a “roadmap” for the machine to follow.
Why is Digitizing Important for Embroidery?
Unlike simple printing, embroidery requires the design to have depth, textures, and a structured path for stitching. The digitized file tells the embroidery machine where to place each stitch, ensuring the final result matches the logo’s original look.
Step-by-Step Guide to Embroidery Digitizing for Logos
To successfully digitize a logo for embroidery, follow these essential steps.
1. Choose the Right Embroidery Digitizing Software
The first step is selecting software that meets your needs and budget. Quality software offers a range of tools for creating and editing stitch patterns, adjusting design elements, and previewing your logo before stitching. Some popular options for embroidery digitizing software include:
- Wilcom: Known for its user-friendly interface and powerful tools, Wilcom is a top choice for professional digitizers.
- Brother PE-Design: Ideal for beginners and advanced users alike, this software supports multiple file formats.
- Embird: Another versatile software with customisable features and useful plugins for intricate designs.
Each program varies in functionality, so choose software that best suits your skill level and the complexity of your logo.
2. Import the Logo and Analyse It
Once you’ve selected your software, import your logo. Take note of its elements, colours, and details, and analyse how you want each element to appear in stitches. Logos with intricate details or gradients require more sophisticated techniques to look polished in thread.
3. Set Up the Correct File Format
Embroidery machines use specific formats, so save your digitized design in a compatible format. Common embroidery file types include:
- PES: Used by Brother machines.
- DST: Widely compatible and commonly used in commercial settings.
- JEF: Used by Janome machines.
4. Select Stitch Types for Different Elements
In embroidery, different stitch types represent various aspects of a logo. For example:
- Satin Stitches: Often used for text or small elements that require a clean, smooth finish.
- Fill Stitches: Suitable for larger areas where more texture is needed.
- Running Stitches: Perfect for outlines and fine details.
A good machine embroidery digitizing process will combine these stitch types for a cohesive and professional look.
5. Adjust the Stitch Density and Length
Stitch density affects the coverage and texture of the embroidery. Higher density means more thread and a fuller look, but if it’s too dense, it can stiffen the fabric or cause issues during stitching. Aim for balanced stitch density based on the fabric type.
Common Challenges in Embroidery Digitizing
Handling Complex Designs
Logos with gradients or intricate designs are challenging, requiring multiple layers of stitches and varying densities to mimic shading effects. Simplifying the logo or altering colours for contrast can often improve the embroidered result.
Scaling Issues
When scaling logos, the stitch density may need to be adjusted to avoid bunching or sparse areas. For instance, enlarging a small logo without changing the stitch count may result in a loose, unattractive design.
Fabric Considerations
Different fabrics react differently to embroidery. Delicate fabrics like silk may require lower stitch density, while thicker fabrics like denim handle heavier stitching well.
Using Megri Digitizing and Other Free Digitizing Services
If you’re new to digitizing or looking for a cost-effective solution, free digitizing services provided by Megri Digitizing can be an excellent option. These services help create a professional-quality file without the steep learning curve or software costs. However, keep in mind:
- Quality: Free services may have limitations in customisation options compared to paid software.
- Turnaround Time: Services vary in speed, so plan accordingly if you’re working on a deadline.
- Testing: Always test a sample before mass production to ensure the digitized logo meets your expectations.
Testing Your Embroidery Design
After completing the digitizing process, testing is crucial. Here’s how to test effectively:
- Preview on Software: Most software includes a preview feature to show how the stitches will look. Use this to check for any issues before stitching.
- Sample Stitching: Stitch a sample of your logo on a fabric similar to your final material. This lets you catch any density, stitch direction, or tension errors.
- Make Adjustments: If the sample doesn’t match your desired look, adjust stitch types, densities, or directions, then test again.
Tips for Successful Logo Embroidery Digitizing
1. Keep the Design Simple
Simpler logos often work best in embroidery, as they’re easier to digitize and can achieve a more precise look. Avoid excessive text or fine details that may not translate well into stitches.
2. Use High-Quality Images for Digitizing
Clear, high-resolution images allow for better accuracy when digitizing. Blurry or low-resolution logos may result in less detail and lower overall quality.
3. Understand Colour Limitations
While embroidery digitizing for logos supports multiple thread colours, too many shades can complicate the process and increase costs. Stick to your brand’s primary colours for a more consistent and polished appearance.
4. Work with Experts if Needed
If the digitizing process feels overwhelming, consider working with professionals who specialize in machine embroidery digitizing. Many companies, including www.megridigitizing.com, offer free and paid options to suit different needs and budgets.
Conclusion
Converting a logo into a beautiful embroidered design requires careful digitizing, thoughtful planning, and attention to detail. With the right embroidery digitizing software, understanding of stitch types, and testing, you can transform a logo into an impressive stitched emblem that elevates your brand presence. Remember, it’s not just about translating an image; digitizing adds depth, texture, and durability to your logo, making it stand out on various fabrics.
Whether you opt for professional services or tackle the process yourself, learning how to digitize a logo will bring versatility and distinction to your branding efforts. So, take the plunge, experiment with different techniques, and soon you’ll have an embroidered logo that’s ready to make a lasting impression.


